First off, sorry if this doesn’t make much sense. I tried to take photos of my work in progress but probably didn’t take as many as I should have. Here’s a rough idea of how I made my babywearing coat:
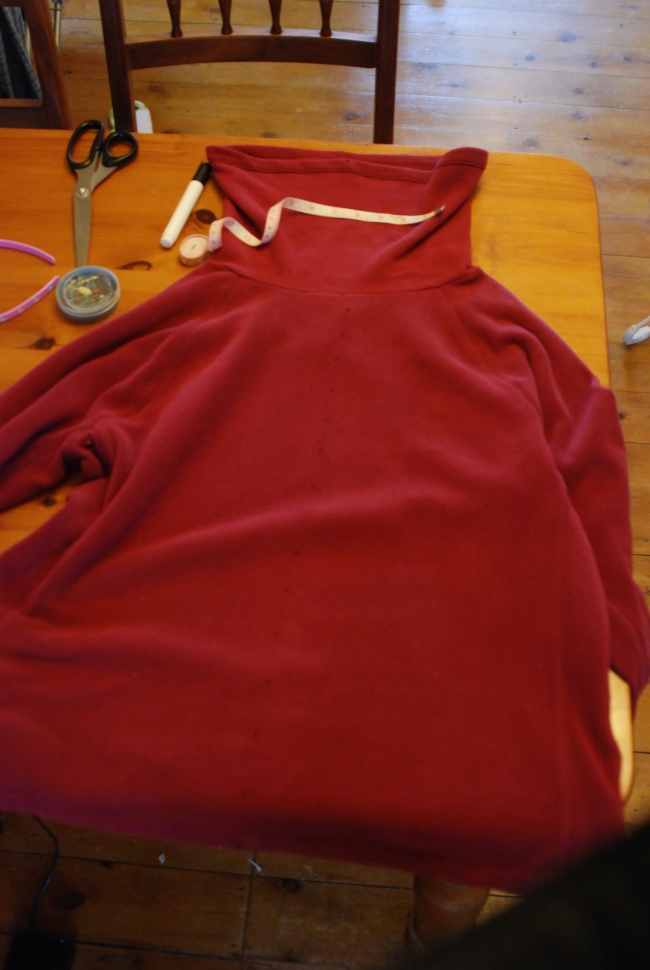
Start off with two fleeces. One (the main body) needs to fit you, and not have any zips or poppers. A jumper without a hood is ideal. The other can be whatever you like, since you’re only going to need the back section. Make sure the thickness of the two fleeces is similar.
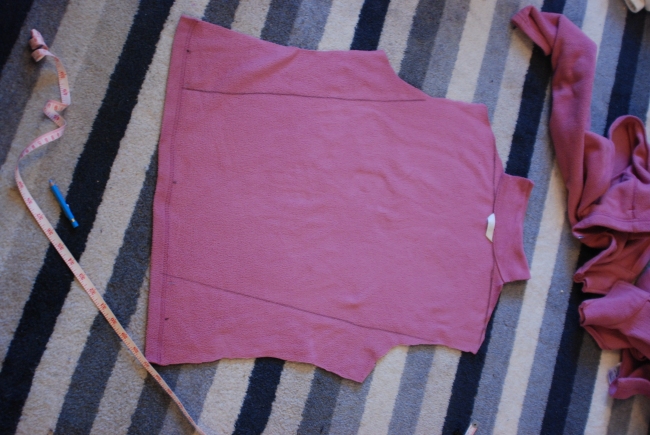
Take your main fleece, and chop it up the front middle. I marked little dots to keep me straight:
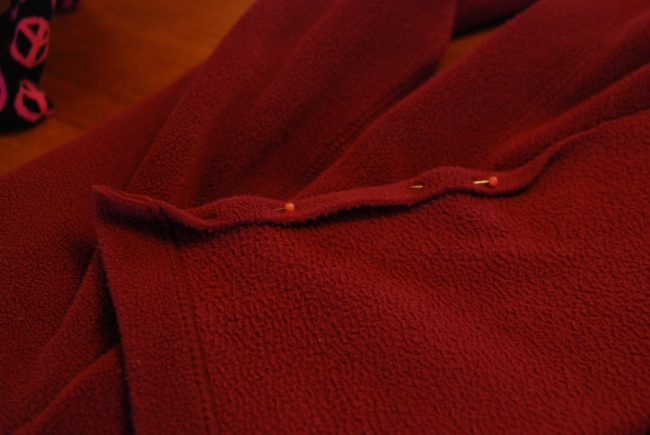
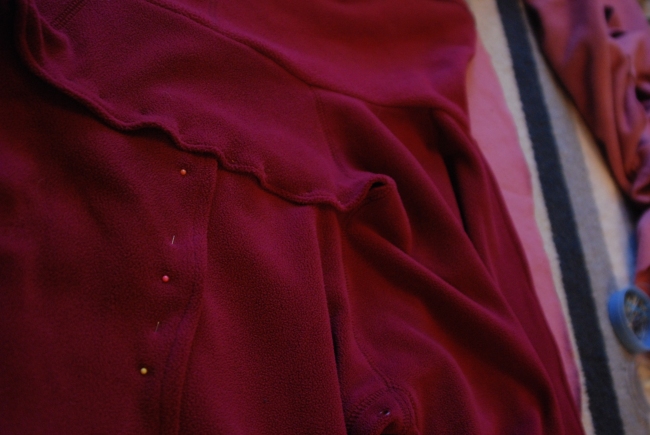
Next, hem the edges you just cut. I pinned the first bit down to make my job easier.
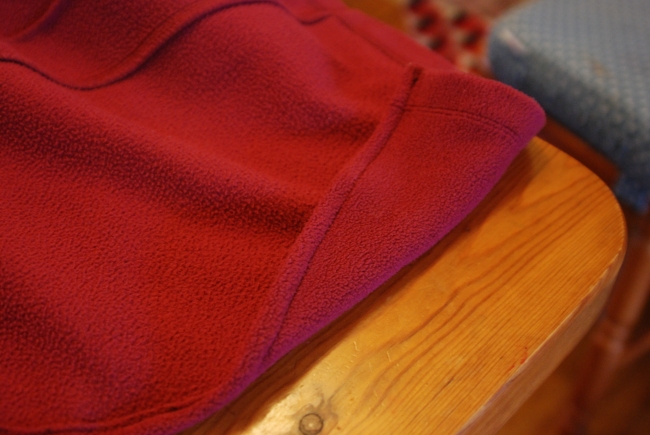
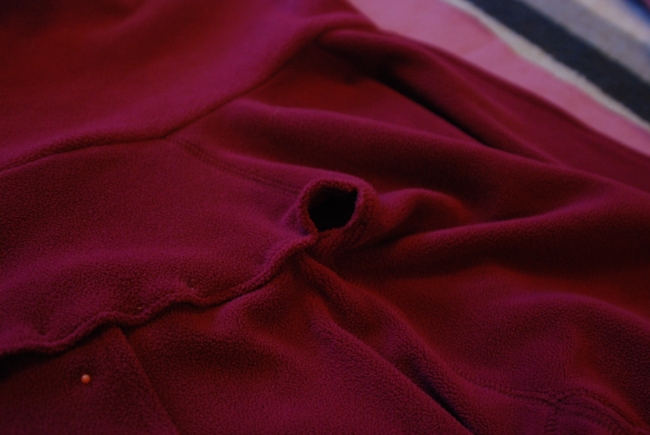
Here is the finished hem. I only folded once but it’s pretty neat; fleece is forgiving like that!
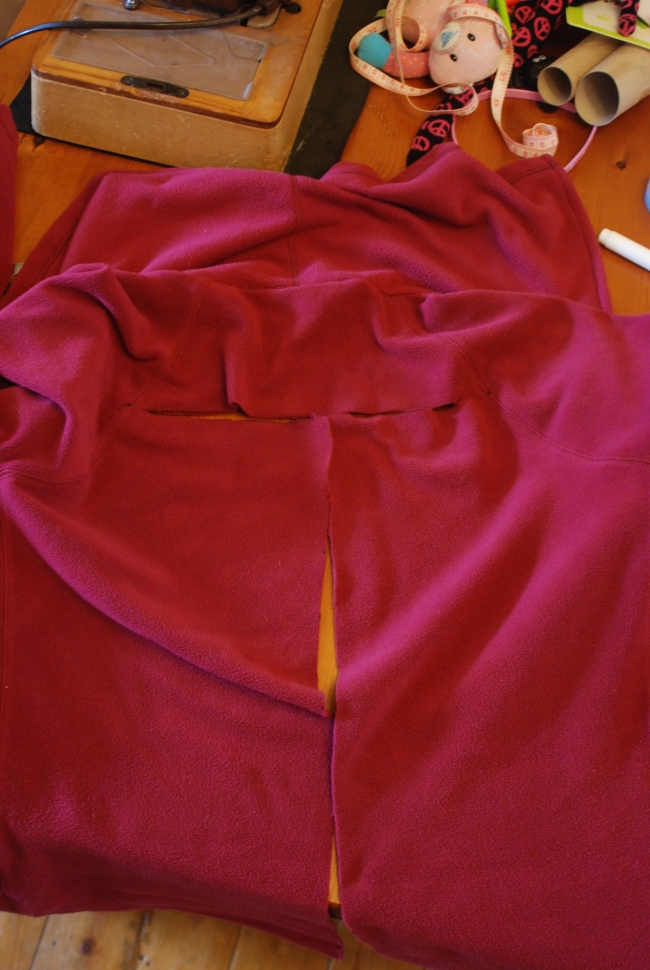
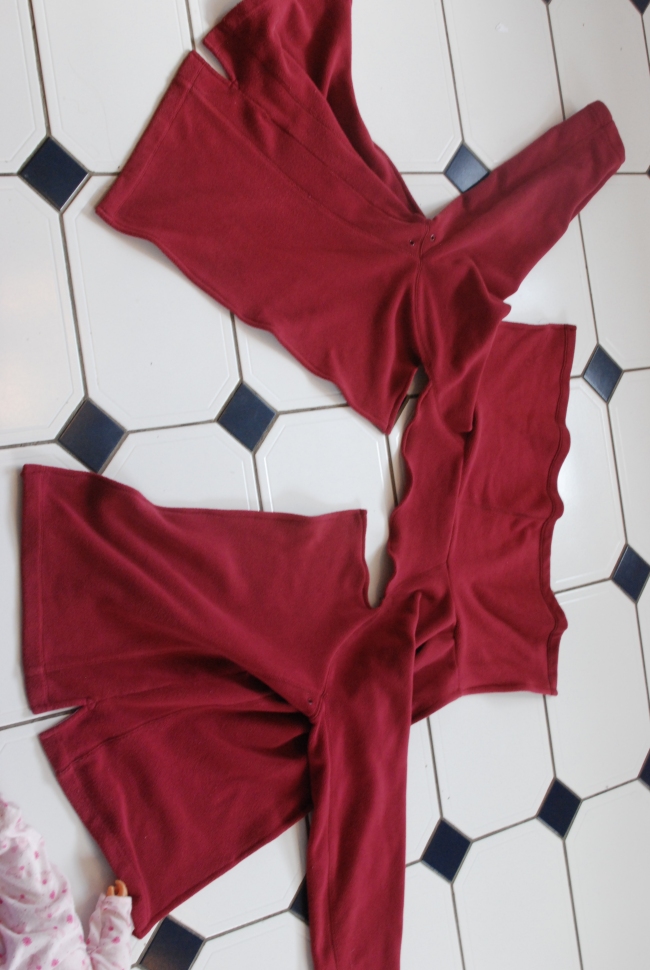
Then I cut open the back. I cut up the middle until a point level with my shoulder blades, the cut across the width of the back of the coat. Again, I hemmed the raw edges.
This is what the back looked like once it was hemmed:
I pinned the back together with a slight overlap (to simulate poppers) to check the fit. I had a little gap in the corner. Never mind!
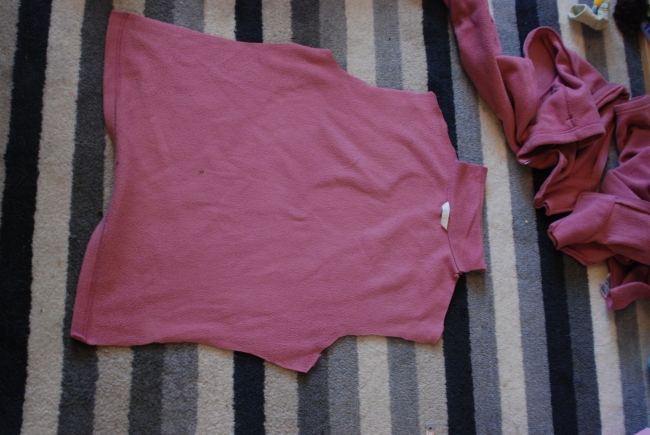
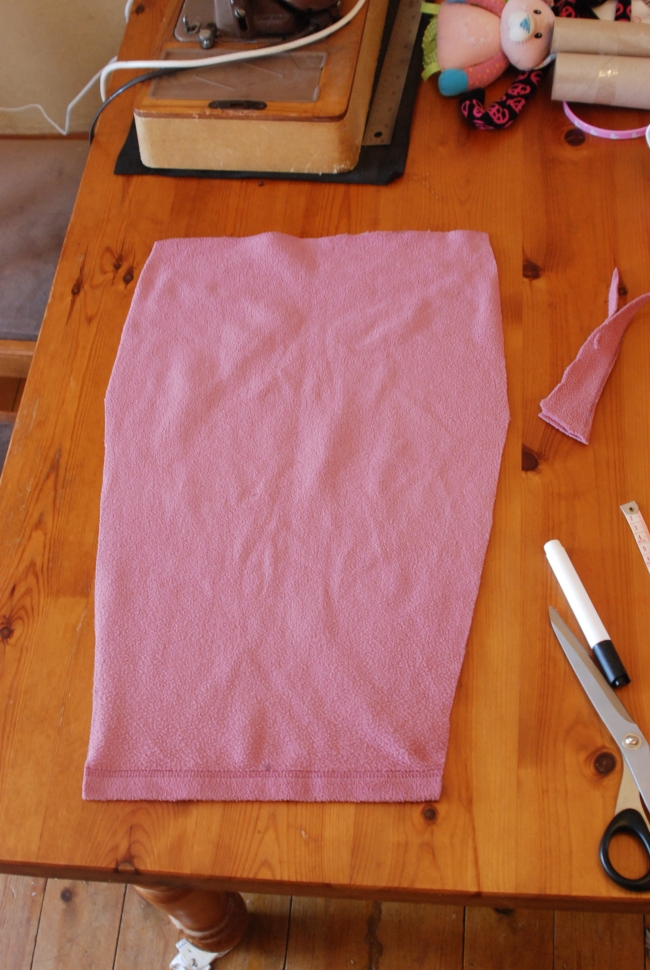
Next I cut the back panel out of my second coat.
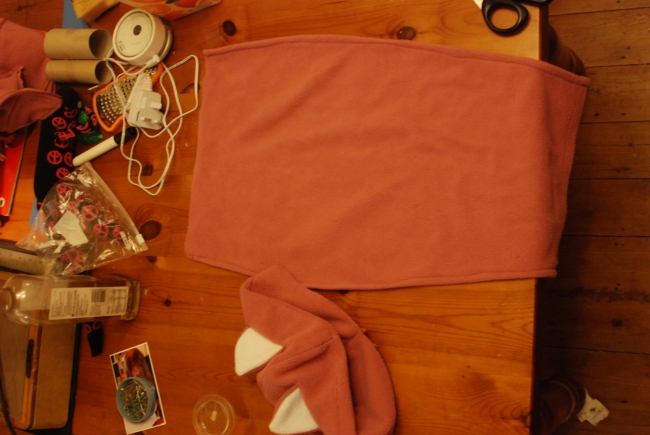
I cut this into a sort of coffin shape:
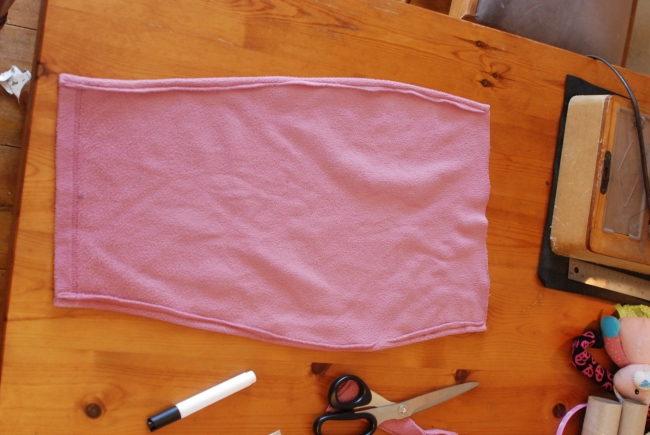
More hemming. Note that I left the top edge unhemmed, in order to add a hood to the panel. If you don’t want a hood you can stop here and add the poppers, then your coat is complete! If you want to see how I made a cute little hood with fox ears, read on.
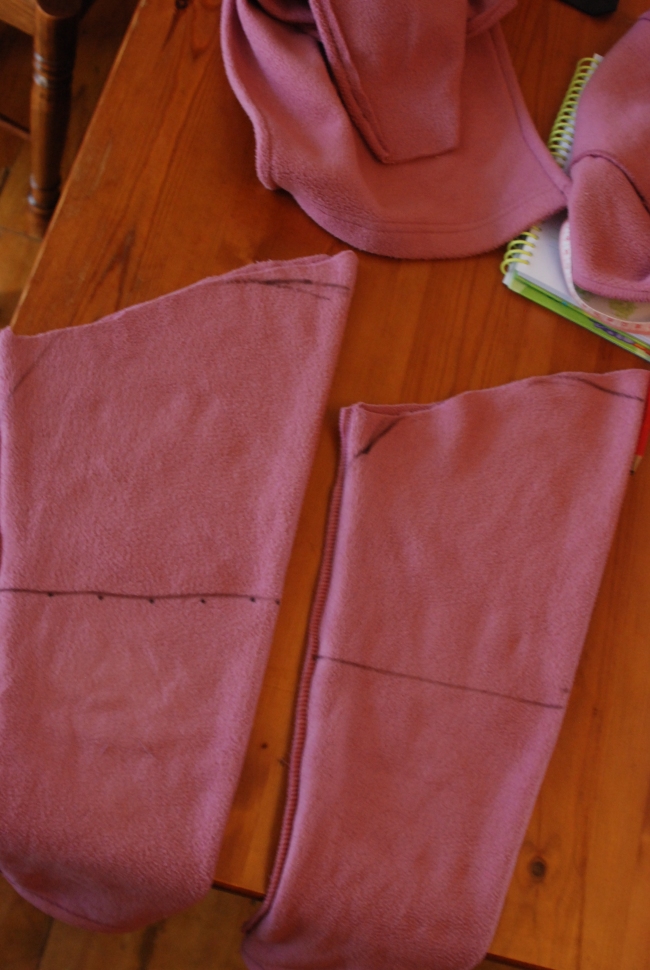
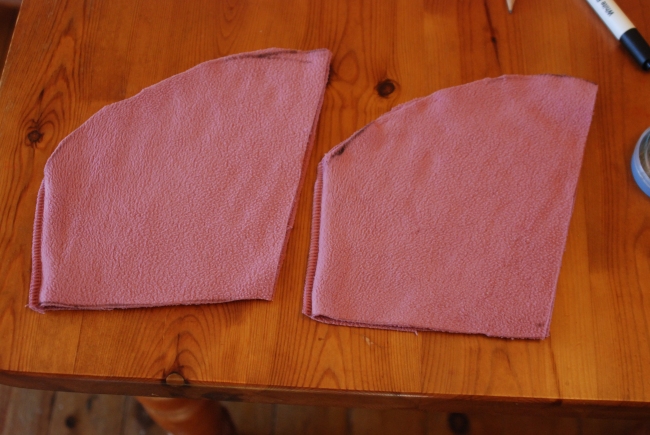
I made the hood from fabric from the arms of the coat. I draw on a quarter-circle shape and cut this out.
I have used two bits of fabric in order to make the hood double-sided. This avoids the hem showing when the hood isn’t being worn.
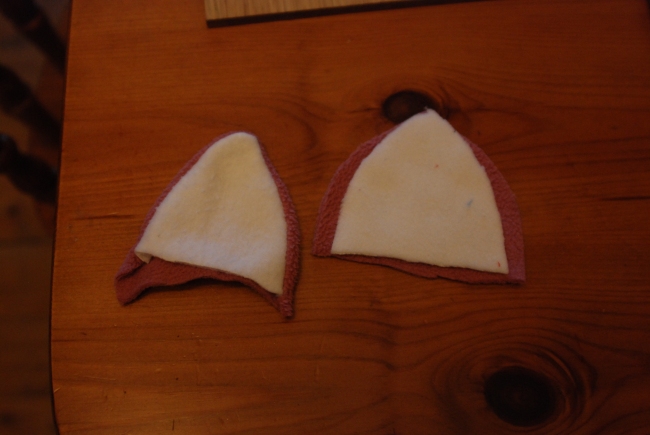
I sewed these together raw-edge to raw-edge, leaving the bottom edge open. Sorry, I don’t seem to have any photos for this bit! But there are lots of tutorials on the internet on making fleece hoods, so you could just Google it. Next I made some ears. With the white bit slightly smaller than the pink bit you force the ears to curl in a little, making them more realistic:
Cut little slits in your hood and sew in your ears. You’ve left the bottom edge of the hood open to allow you to sew from the inside. Your hood is finished and ready to sew on!
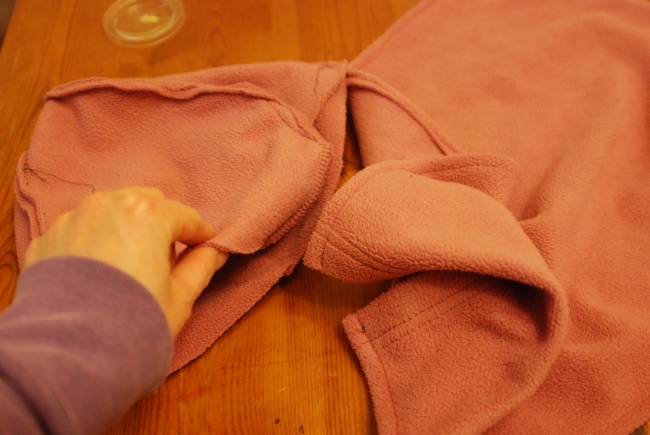
I then turned my hood inside-out and stuffed the baby panel inside, leaving just the top edge poking out. Leaving a small gap of about 5cm I sewed the seam all along, then turned the hood back the right way round and I had a hidden seam! The raw edge of the panel was now inside the two layers of the hood, all nice and neat! If you do this, make sure you have the panel the right way round before you sew. Or you will end up with your hood on backwards and the seams of the panel all showing! If your hood is ear-less then this isn’t an issue as your hood is effectively reversible.
Then I did the poppers. I thought this would be quick. I was wrong! Even with a set of KAM pliers it took me two evenings. 7 poppers up each side of the coat, front and back and shoulders, and up the baby panel as well. The coat has a total of 47 poppers! But the advantage of this coat over the ones made from zip coats is that you can add a back panel fairly easily. In retrospect, much as I hate sewing zips, it might have been easier to do so.
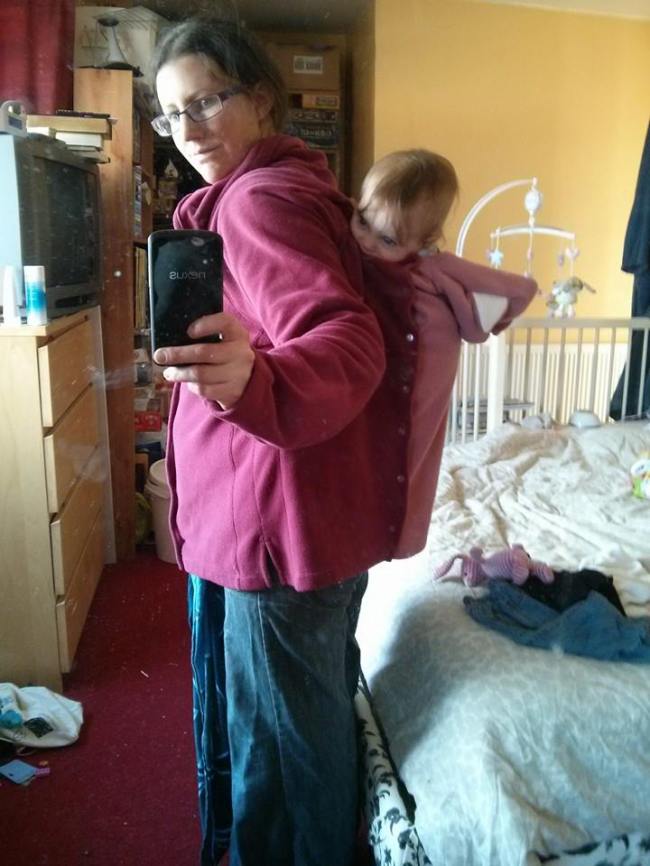
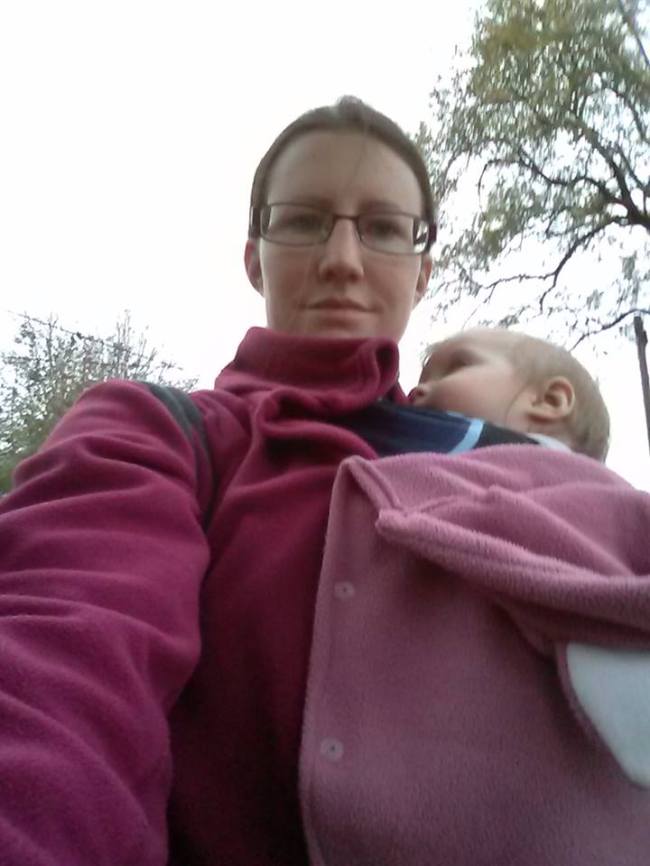
It’s not a perfect coat by any means! The back gapes a little too much, the front panel isn’t quite long enough, and it’s thin fleece so will only be good for mild weather. But it cost me all of about £20, and took a few evenings to make. I get a lot of compliments wearing it, too! I might try to make one out of a thicker coat if I can find one. Watch this space…

Pingback: Slinging In The Rain. And Cold and Wind and Snow! | Stroud Sling Meet